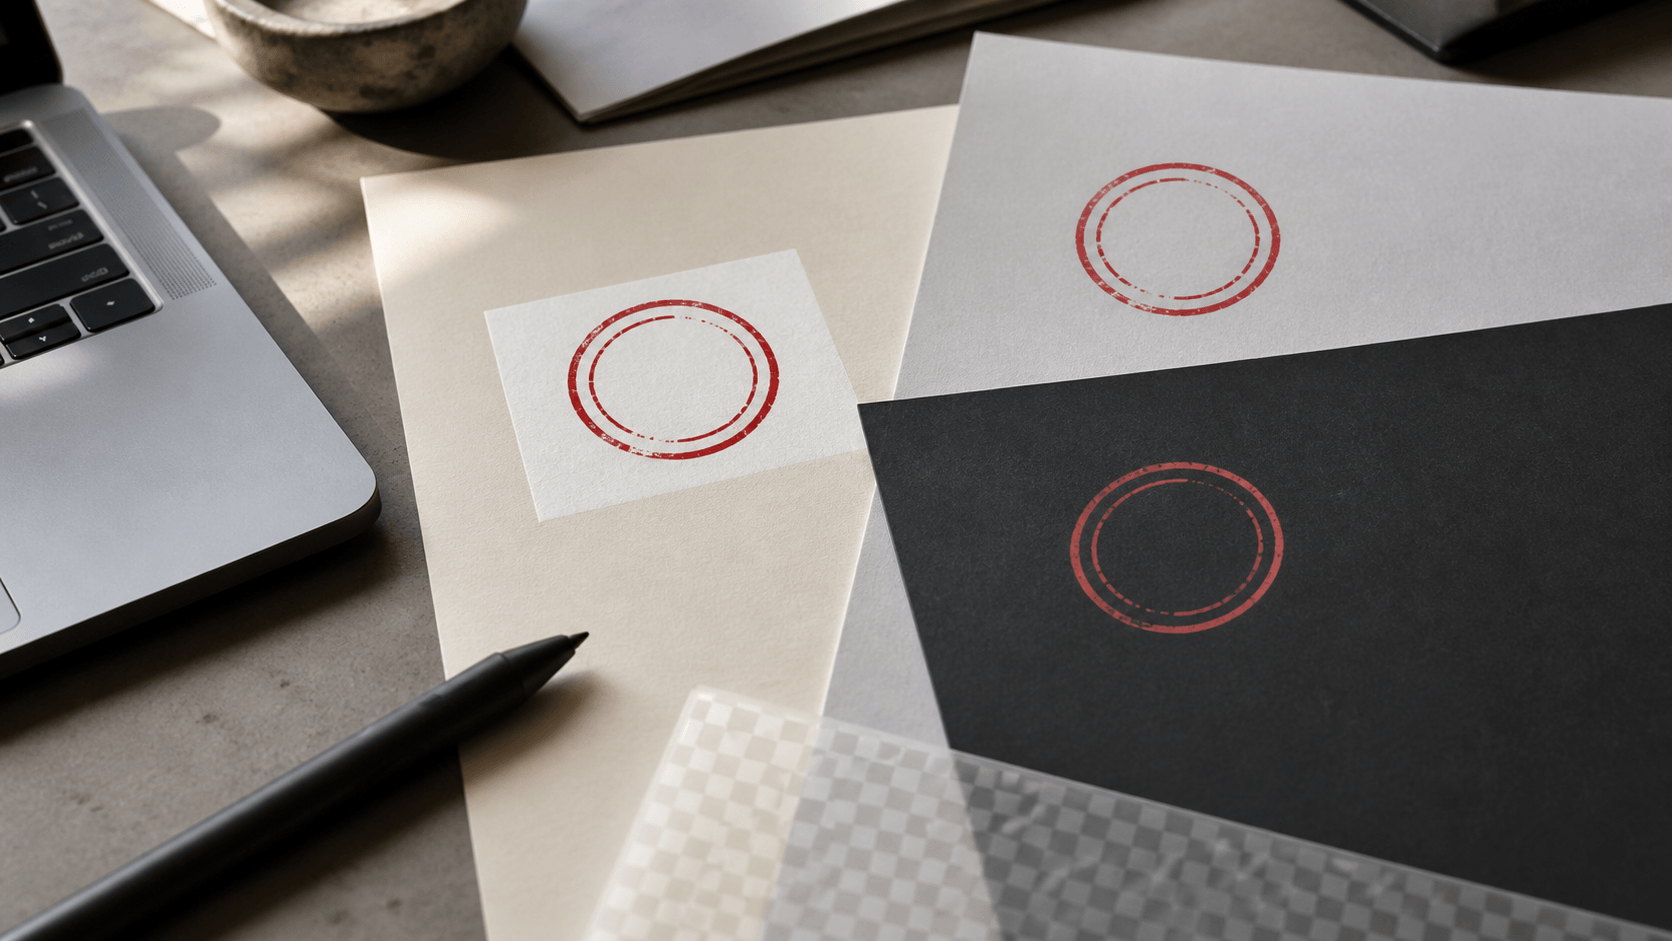
You place a digital stamp over a contract, invoice, or presentation and a white rectangle lands with it. The stamp itself may look fine, but the box covers lines, color, or text underneath. Sometimes the rectangle is obvious. Sometimes it appears as a thin pale halo that only becomes visible on a colored page. Either way, the file is not behaving like a clean transparent stamp.
The fix starts with a distinction that is easy to miss: a white background and a transparent background are not the same thing. White is a visible color. Transparency means the destination page can show through. A PNG file can support transparent pixels, but the letters “PNG” in a filename do not prove that those pixels are present. The image may still contain a solid white canvas, dirty near-white edge pixels, or transparency that was removed when another program saved or converted it.
This guide gives you a practical way to find the source of the problem, repair the artwork without damaging the stamp, export a dependable file, and test it where people will actually use it. Work from a copy of the original. A background-removal mistake is much easier to correct when the untouched source is still available.
1. Confirm that the white box belongs to the image
Before editing anything, place the same file over three simple backgrounds: white, mid-gray, and black. Use a blank document or slide with no texture. If the rectangle appears over gray and black but disappears over white, the image probably contains a white canvas. If the broad rectangle is gone but a pale outline remains around the ink, you are looking at edge contamination rather than a fully opaque background.
Next, open the file in an image viewer or editor that indicates transparency with a checkerboard. A checkerboard is only an interface convention, but it helps reveal whether the canvas is transparent. Do not rely on the thumbnail in a file browser. Many systems display transparent images against white, so a clean transparent file and a white-background file can look identical there.
Check the file extension, but treat it as a clue rather than a verdict. JPEG does not carry the kind of per-pixel transparency normally used for a floating digital stamp. PNG can carry it, yet a PNG may also be completely opaque. A screenshot saved as PNG usually records the white screen behind the stamp. Renaming a JPG from “stamp.jpg” to “stamp.png” changes the label, not the image data.
If the rectangle appears only after the image is inserted into one particular application, test the same file somewhere else. A clean result in one program and a white result in another points toward an import, conversion, print, or export setting in the receiving workflow. Keep that possibility open until you have inspected both the source file and the final output.
2. Find the best source before removing anything
Background removal is sometimes necessary, but it should not be the first move when a better source exists. Look for the editable stamp design, an SVG or EPS master, or an original transparent PNG export. A clean re-export preserves smooth edges and intentional open spaces. Erasing white from a flattened screenshot forces software—or you—to guess which light pixels are background and which belong to the artwork.
Keep an inventory of what you have. The most useful source is usually the file with separate, editable elements or vector paths. Next comes a large, high-contrast raster image with a plain background. A small image copied from an email signature or document is a weaker source because it may have been resized, compressed, softened, or composited already.
Inspect the stamp for legitimate white areas. A ring may contain white gaps that separate words. A crest may use white counters and cutouts to define its shape. A signature-style mark may have pale antialiased pixels around each curve. A one-click command that removes every light pixel can punch holes through these features or make the edge jagged.
If another person supplied the stamp, ask for the master rather than repeatedly cleaning a degraded copy. Use a simple request: “Please send the original transparent PNG or vector artwork, not a screenshot or a copy pasted from a document.” This often saves more time than a complicated repair.
Make a duplicate before continuing and give it a clear name such as company-stamp-background-test. Leave the original untouched. Repairs become confusing when every experiment overwrites the only source.
3. Understand what a transparent PNG actually contains
A transparent PNG stores information about opacity as well as color. A pixel may be fully opaque, fully transparent, or partly transparent along an edge. Those partly transparent pixels are valuable: they let a curved border or letter blend smoothly into different backgrounds instead of looking like a staircase.
That is why two removal methods can produce very different results. A hard selection may turn every chosen white pixel fully transparent while leaving a ring of near-white pixels around the stamp. The result looks acceptable on a white page, then develops a pale halo on navy, green, or gray. A better mask accounts for the transition at the edge and prevents the old white background from leaking into partially transparent pixels.
Transparency also depends on the actual image type inside the file. PNG supports transparent and nontransparent images. If no transparency information is present, every pixel is treated as opaque. Saving an opaque image again as PNG does not automatically identify the background. The export must preserve or create the intended transparent area.
File choice still matters after the repair. If you are unsure when to keep a transparent raster image and when to return to scalable artwork, the guide to transparent PNG and SVG stamp files explains the practical difference. For ordinary placement in documents, a correctly sized transparent PNG is often convenient. For major resizing, production changes, or a reusable master, vector artwork may give you more control.
Do not confuse transparency with reduced opacity. Making the entire picture 50 percent transparent causes the background to show through the ink as well as the canvas. That may suit a watermark, but it does not remove a white box cleanly. The usual goal is opaque or intentionally textured ink surrounded by transparent pixels.
4. Choose the repair method that matches the source
A simple one-color stamp on a flat, pure-white background is the easiest case. A background-removal or ink-extraction tool can often separate the mark from the paper in one pass. Start conservatively. Preview the result over both light and dark colors before downloading it.
A scanned ink impression needs a different judgment. The paper may be warm rather than white, and the stamp may contain hundreds of subtle red or blue tones. If you remove only perfect white, much of the paper remains. If you remove all pale pixels aggressively, the lighter parts of the impression disappear. Decide whether you want a faithful scan with natural ink variation or a cleaner graphic mark. They are different assets and should be saved separately.
For a logo or designed stamp with several colors, do not use brightness alone. A pale yellow symbol, gray lettering, or white knockout detail may be part of the design. Use a mask that targets the connected background area, or return to the editable file and export it properly. Check interior counters and gaps one by one.
A photographed rubber-stamp impression can include shadows, paper grain, lens distortion, and uneven lighting. Correct the perspective and tonal range before attempting precise transparency. If the photo is only a reference for an existing design, redrawing the mark may be faster and cleaner than extracting every edge from the photograph.
Whenever the result will be used repeatedly, make the repair at the highest trustworthy resolution available. Removing a background from a tiny copy and then enlarging it makes edge defects more visible. Work large, verify the shape, and export a properly sized copy for daily use.
5. Clean the edge without making it brittle
The edge is where most background-removal jobs succeed or fail. Zoom in far enough to see the transition, but keep checking at normal size. At high magnification, every stamp edge looks imperfect. The useful question is whether that imperfection becomes a visible halo, hole, or jagged line in the final document.
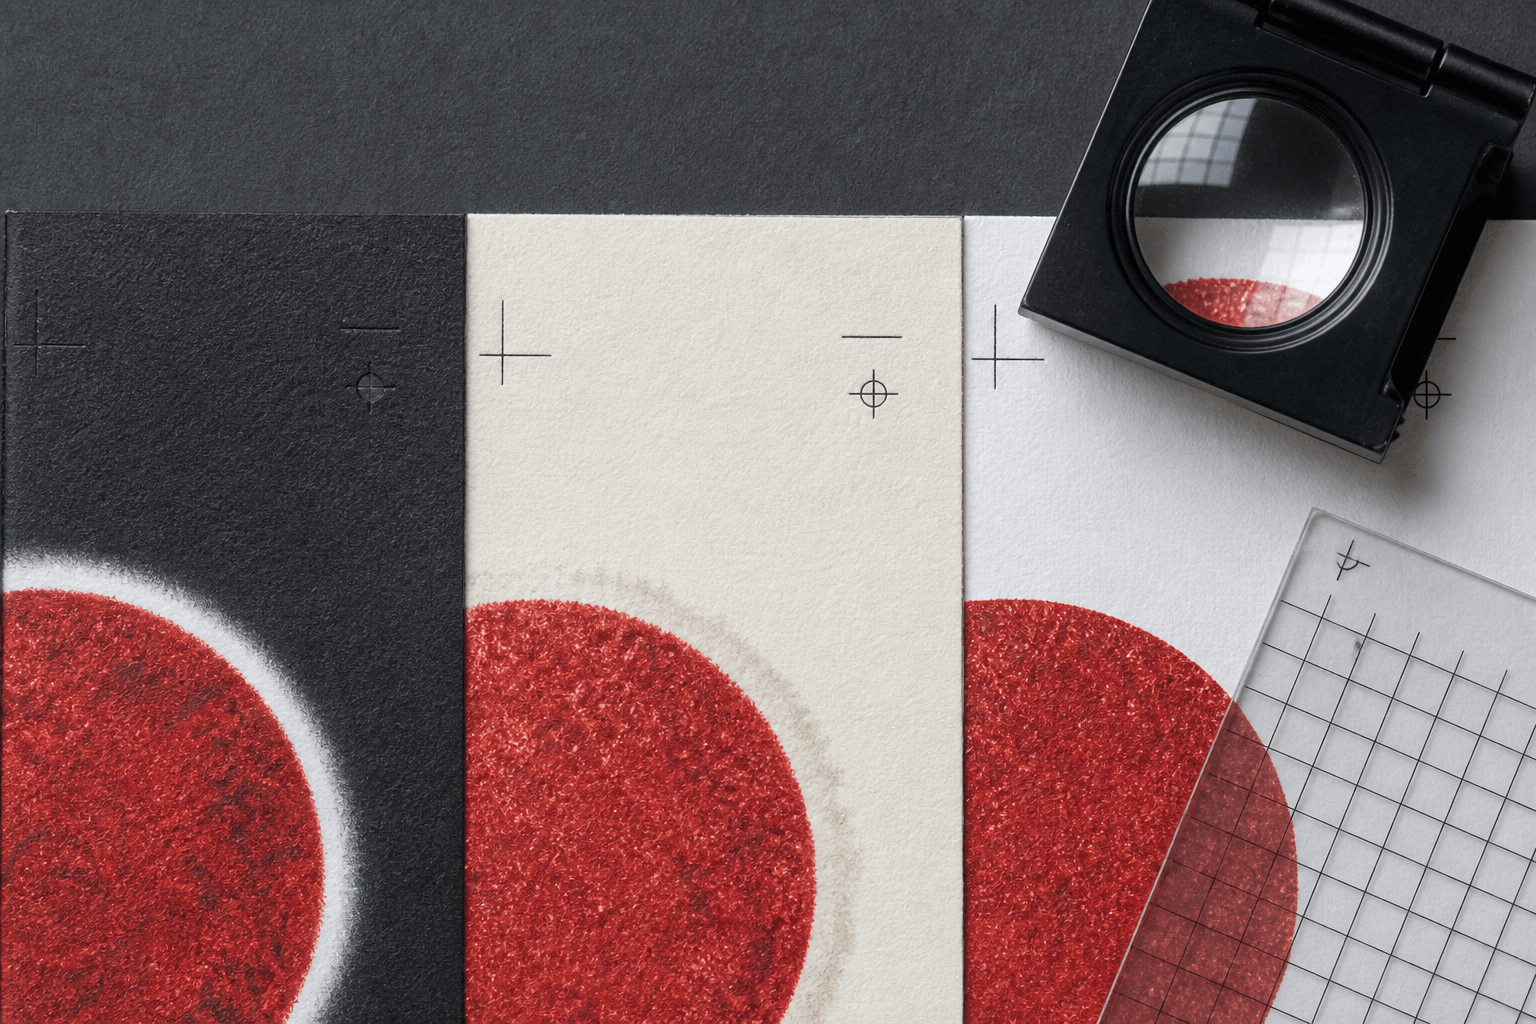
First look for a consistent pale fringe. Place the stamp over black and inspect the outer border, letter curves, and small counters. A white or pinkish glow usually means the edge pixels were blended with the old background before transparency was created. Refine the mask or remove the color contamination rather than simply shrinking the selection until the halo vanishes. Shrinking too far makes letters thin and rough.
Then place the stamp over white. Dark fringe pixels that looked harmless on black can make the mark appear dirty on a normal page. Alternate between light and dark tests. A transparent asset should not be optimized for only one background unless that use is intentional and documented.
Inspect enclosed spaces. The hole inside an “a,” “e,” “R,” or “8” may still contain white. So can the center of a ring, spaces between emblem parts, or narrow gaps between curved text and a border. These areas may not connect to the outside background, so a tool that removes only the outer region can miss them.
Keep some soft edge pixels when the design is raster artwork. A completely hard threshold can make curves look serrated. The goal is a clean transition with no memory of the old background, not an artificially sharp edge at every scale. Save a test copy and compare it at the intended display size before committing the master.
6. Rebuild a damaged stamp instead of erasing harder
There is a point at which more background removal causes more harm than repair. If the source is a small screenshot, if letters have merged into the white canvas, or if compression blocks interrupt the border, rebuild the design with editable parts. Open a structured stamp maker, retype the exact wording, redraw clean borders, and place the approved logo as its own element.
Retyping is especially important when the original image contains business names, numbers, dates, or formal text. Automated cleanup cannot tell the difference between a broken letter and intentional texture. Verify the wording from an approved source, select a suitable typeface, and preserve a live-text master before creating any outlined export.
Rebuilding also lets you correct geometry that a screenshot has distorted. Circles become circles again. Borders have consistent thickness. Curved text can be centered on a controlled path. The design can be resized without enlarging a rectangular field of old pixels.
Use the old image as a visual reference, not as unquestioned truth. Check whether it includes outdated wording, an unofficial emblem, or details copied from another mark. A clean technical rebuild is also an opportunity to confirm permission and accuracy.
When the artwork is complete, export a transparent PNG for document use and retain the editable or vector master. Name them so nobody mistakes one for the other. A practical pair might be company-stamp-master and company-stamp-transparent-1200px. The master is for revision; the PNG is for placement.
7. Export with enough space, but not a hidden canvas
A transparent file still has rectangular pixel dimensions. The rectangle should contain transparent padding around the visible mark, not opaque white. A small amount of even padding keeps the stamp from touching a text box edge and prevents the outer ring from being clipped. Excess padding makes positioning awkward because the visible mark occupies only a fraction of the selectable image area.
Crop the transparent canvas to the visible stamp plus a deliberate margin. Check all sides. Decorative flourishes, descenders, or distressed specks can extend farther than the main border. If the crop tool ignores faint pixels, it may cut them off. If it treats stray dust as artwork, it may leave a huge empty area.
Choose pixel dimensions for the intended use rather than exporting the smallest file possible. A larger clean PNG can be reduced with good results in many document workflows; a tiny PNG cannot recover detail when enlarged. Keep the aspect ratio locked. Stretching a round stamp into an oval is easy to do accidentally in a document editor.
Use color intentionally. If the mark should appear as red or blue ink, verify that the edge pixels belong to that color rather than the removed white paper. If the file will be printed in black and white, test the conversion. Two colors with similar lightness may collapse into the same gray and change the hierarchy.
After export, close the editing view and reopen the actual downloaded file. This catches the common mistake of previewing transparency correctly but exporting a flattened version with the background restored.
8. Test the file in the real document workflow
A clean image-editor preview is necessary, but it is not the finish line. Insert the downloaded file into the application and template your team actually uses. Test it over a colored shape, a table line, and ordinary text. Then export or print the document in its final format.
Look for three kinds of change. First, does the white rectangle return? Second, does the edge develop a halo or dark seam? Third, does the stamp become soft because the application reduced, compressed, or rasterized it? Record which step caused the change: insertion, saving, PDF export, online conversion, email processing, or printing.
Some document tools include a command that makes one selected color transparent. This can work for simple clip-art-style images with a single flat background color. It is less reliable when the white background contains shadows, paper texture, compression noise, or several near-white tones. It may also remove intentional white areas. Treat it as a quick repair for a simple source, not a substitute for a clean master.
If the stamp looks right on screen but prints inside a white box, compare the on-screen document with the exported PDF and printer settings. Try a direct PDF export rather than a screenshot or print-to-image detour. If the result changes only in a company-controlled system, ask the system owner what image formats and transparency it preserves.
Save one known-good test page with a dark background patch, a light background patch, and the approved stamp. When the workflow changes, this page gives you a quick regression test without risking a live document.
9. Diagnose halos, holes, and faded ink separately
A white rectangle means the canvas is opaque. A pale halo means edge pixels still carry the old background color. Missing holes or broken letters mean the removal was too aggressive. Faded ink may mean the entire layer opacity was reduced, or that pale impression tones were mistaken for background. These faults need different fixes.
For a halo, refine or decontaminate the edge. For missing details, return to the mask and restore the intended pixels from the untouched source. For faded ink, separate the opacity of the ink from the transparency of the canvas. For a broad box, confirm that the export includes real transparency rather than a white fill.
Color fringing can be subtle. A red stamp extracted from warm cream paper may carry orange or beige pixels around the edge. On white paper they seem natural; on a cool gray document they look dirty. Test against colors that differ from the original source paper.
If one application repeatedly alters a correct file, keep the correct master and create a documented application-specific copy. Do not weaken the universal asset to accommodate one unusual destination. Note the application, export route, background expectation, and date in the filename or accompanying record.
When a file has been through many repairs, stop and compare the time required to rebuild it. A clean border and verified text are usually more dependable than a delicate chain of selections applied to an uncertain screenshot.
10. Keep one approved digital stamp master and one proof
Once the stamp works, prevent the problem from returning. Store the editable or vector master, the approved transparent PNG, and a small proof document that demonstrates the image over light and dark backgrounds. Give each file an unambiguous name and keep old versions out of the everyday download folder.
Include the intended use and dimensions in a short note. Record whether the stamp is designed for documents, websites, print, or a specific office template. If a future user needs a different size or color, they can return to the master instead of enlarging and recoloring the daily-use PNG.
Do not send the stamp by pasting it directly into an email body when the recipient needs the original asset. Some email and messaging systems create a new copy or flatten the image. Attach the file, or share it through the organization's approved file system, and ask the recipient to download rather than copy the preview.
The next time a white box appears, run the three-background test first. It will tell you quickly whether you have the wrong file, a damaged edge, or a receiving application that changed a good export. A transparent digital stamp is not mysterious once color, opacity, edge pixels, and workflow are checked as separate things.