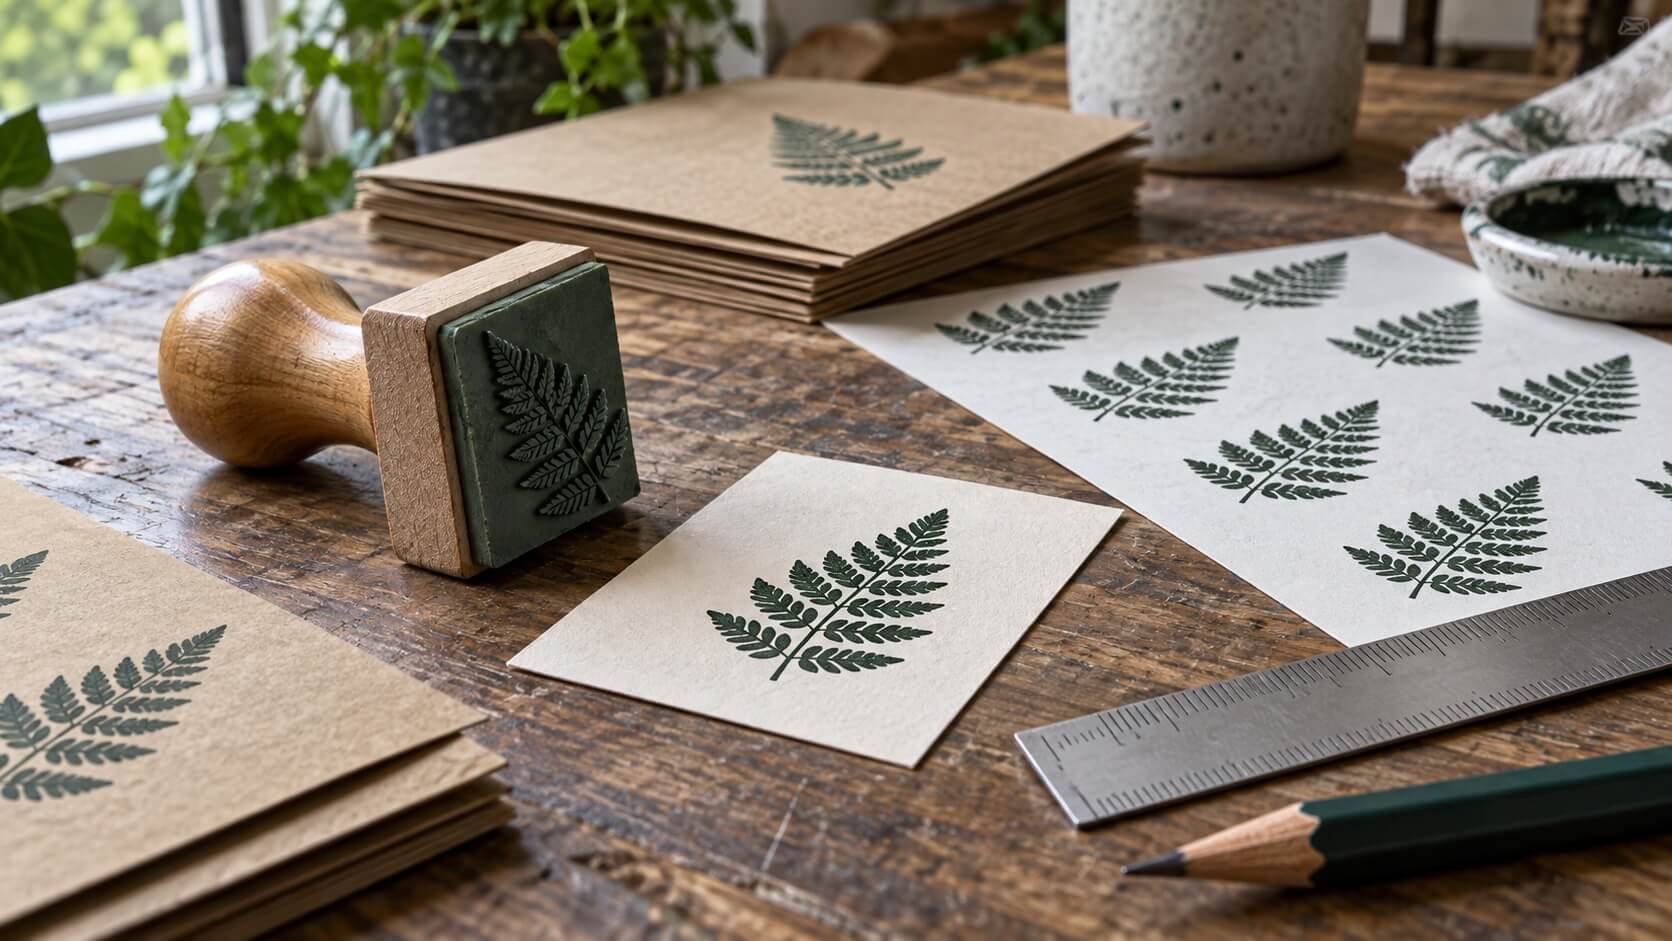
The supplier sends a picture of your new rubber stamp. The border looks tidy, the lettering appears correct, and the handle is the color you ordered. Is that enough to approve the rest of the order?
It depends on what the picture proves. A digital proof can confirm the proposed wording and layout. A photograph can show a physical sample. Neither necessarily tells you how the stamp behaves on your paper, in your receiving box, or in the hands of the person who will use it every day.
Before ordering several units, approve one against a short, agreed set of requirements. Keep the artwork decision, the physical dimensions and the impression test separate. That makes it easier to give a clear acceptance or request a useful correction. The procedure below is for ordinary business and creative stamps; any specialized inspection or regulated marking process needs its own applicable requirements.
1. Know what kind of rubber stamp proof you are approving
Suppliers use the word “proof” for several different things. A layout proof normally shows the intended design before manufacture. A printout may show that design at a stated size. An actual impression comes from the finished printing surface. Ask which one you have instead of treating all three as interchangeable evidence.
The layout proof is the place to confirm spelling, numbers, reading order, the presence of a logo and the relationship of the elements. If your artwork is not yet ready for that stage, use the rubber stamp artwork preparation guide first. Approving a sample becomes much harder when the source design is still changing.
A scaled paper proof can help answer whether the mark will fit on your form. It cannot show how ink transfers. A supplier photograph of a stamped sample may show transfer quality, but its scale and image processing can make physical size difficult to judge. A clean photograph also may represent the best impression selected from several.
A first physical unit lets you test the combination you will actually use: the stamp, its ink system, the intended stock and a realistic stamping action. It is still a sample rather than a guarantee that every later unit will behave identically. That is why the approved sample and the agreed requirements should both remain available.
Agree what each approval authorizes. “Layout accepted” should not accidentally mean “all materials and all units accepted.” An explicit note such as “wording and layout approved; physical sample pending” keeps the remaining decision visible without creating an argument about what a brief email meant.
2. Put the requirements on one page before the sample arrives
Begin with the intended use. A stamp used on smooth office forms has a different job from one used on textured packaging. List the actual stock, the space available for the impression, the required wording and the ink color. Where a requirement matters, name it; do not expect the supplier to infer it from a product photograph.
Distinguish the outer size of the stamp body from the size of the printed mark. A housing measurement does not tell you how much of a form the impression will occupy. If you need the visible mark to fit inside a box, specify the impression dimensions and agree any tolerance with the supplier.
For example, imagine a receiving area 46 millimeters wide and a requested impression 40 millimeters wide. If it lands centrally, that leaves three millimeters on either side. Those numbers illustrate available placement space; they do not establish an acceptable manufacturing tolerance. The operator still needs room to place the stamp without covering nearby content.
Separate essential information from decoration. A missing digit in a product identifier is a failure even if the border is beautiful. A minor variation in decorative texture may be acceptable if both parties intended an irregular effect. The same defect should not be judged differently depending on which person happens to review the sample.
Include how the stamp will be handled. Is it used occasionally at a desk, repeatedly at a counter, or on individual pieces in a workshop? Explain any need to line up with a preprinted field. Do not turn an untested preference into a promise about speed or durability; give the supplier enough context to recommend an appropriate system.
Finish the page with the approved artwork filename and revision. If the sample was made from a different revision, settle that discrepancy before evaluating visual details. Otherwise you may reject perfectly manufactured work for a design change the supplier never received.
3. Check the unit you received before making impressions
Photograph the sample and its identifying information when it arrives. Keep the order reference, model or size description and any ink instructions together. If the order includes several different designs, make sure the physical unit matches the proof you are about to inspect.
Look for obvious shipping damage or a loose component without dismantling the stamp. Follow the manufacturer's opening, locking and handling instructions where they apply. A sample evaluation is not a reason to pry apart a mechanism or introduce a cleaning chemical before it has been used normally.
Check the visible printing surface if it can be examined safely. Distinguish what you see there from the final impression: many printing surfaces are reversed so that their print reads correctly. Evaluate the printed result against the approved reading direction instead of rejecting a surface simply because it looks mirrored.
Confirm the ink system before refilling anything. A dry-looking first impression does not establish that the stamp needs more ink, and a bottle of the correct color is not proof of compatibility. Adding an unsuitable refill makes the sample harder to evaluate and may create a problem unrelated to manufacturing.
Ask the person who will use the stamp to handle it. Can they identify its orientation and put it down in the intended area? Does the operating motion fit the available workspace? A neat imprint made under ideal conditions can hide an awkward everyday tool.
Record observations separately from conclusions. “One corner of the mount appears loose” describes what you can see. “The adhesive is defective” assigns a cause that may require the supplier to investigate. Clear observations get better answers than an early diagnosis unsupported by the evidence.
4. Make a small comparison set under repeatable conditions
Use a clean, firm, flat support and the stock named in the order. Keep a second, ordinary paper sample for comparison if the supplier recommends it. Follow the operating instructions for the stamp. Number the test positions on the sheet outside the impression area so you can refer to a specific result.
For a simple practical check, make a short sequence of impressions rather than one carefully selected mark. Six to ten may give you enough examples to notice a recurring issue, but this is a convenient observation exercise, not a statistical acceptance standard. Larger or specialized orders may need a separately agreed sampling plan.
Use a consistent motion and avoid changing pressure dramatically between attempts. Record a change when you make one. If you move to a different table, replace the paper and add ink all at once, a better result cannot tell you which change helped.
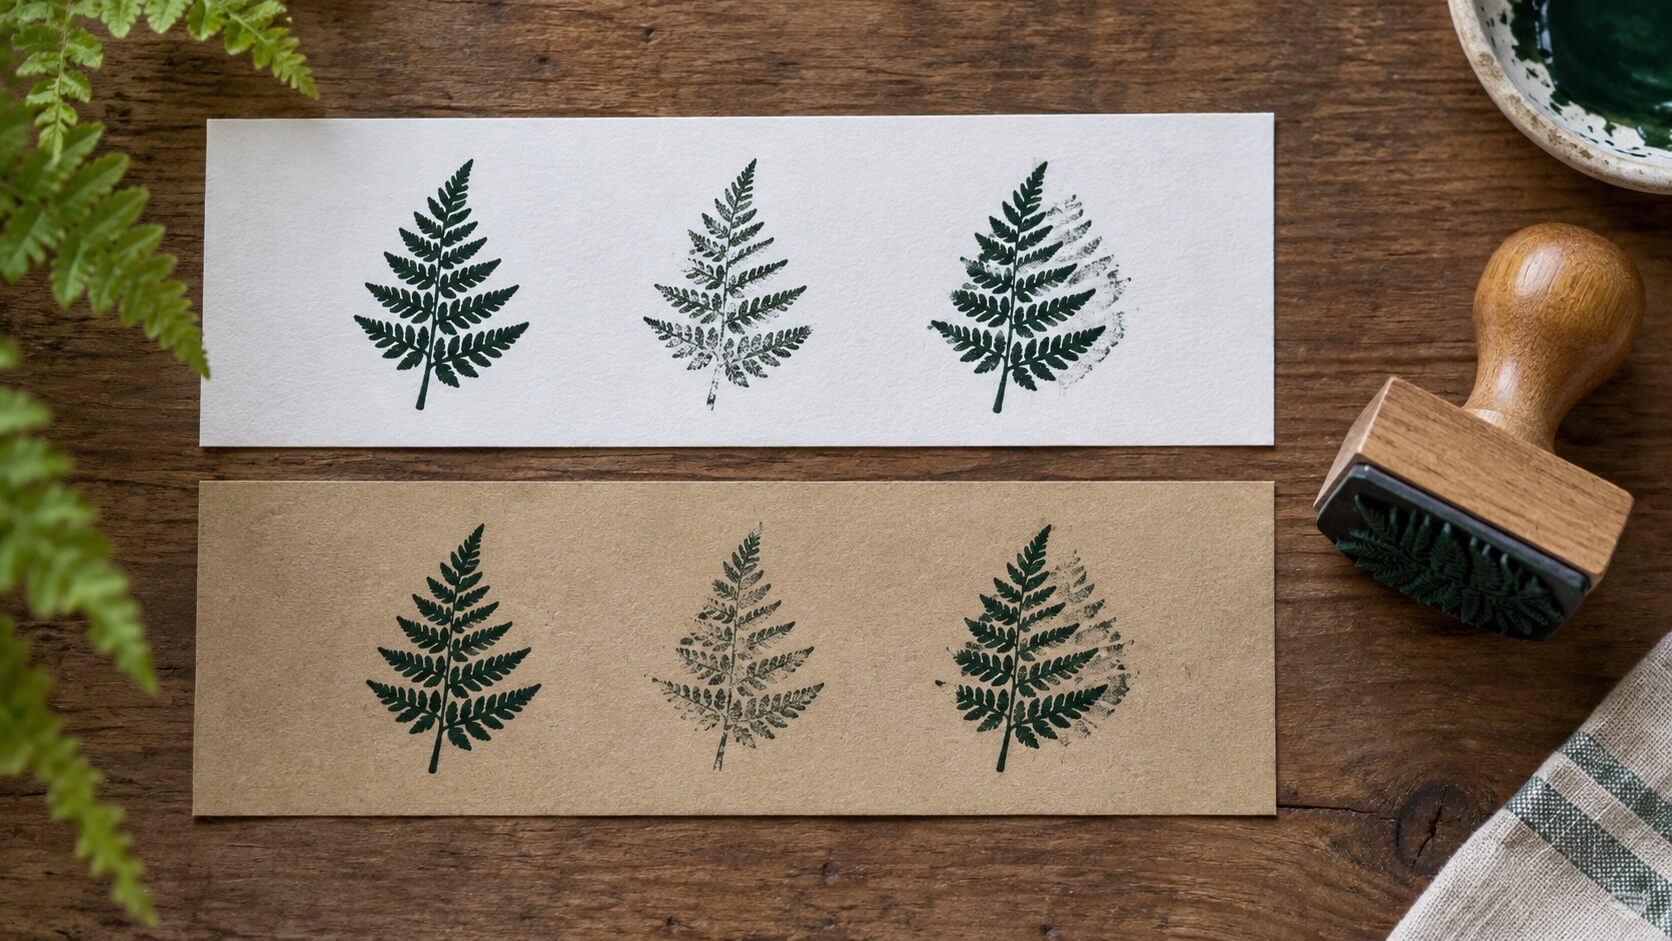
Look across the sequence. Does the same letter fail in the same place? Does the border vary randomly? Does a double edge appear only when the operator rocks the stamp? A repeatable localized issue deserves a different conversation from a result that changes with handling.
Measure the visible impression at its outermost intended points. Ignore a stray speck when measuring the designed footprint, but record it as an unwanted mark. Use the same measurement convention as the supplier so that both parties are comparing the same thing.
Inspect at a normal reading distance before using magnification. The purpose of magnification is to understand a problem, not to invent a failure that cannot affect the intended use. Small details needed for identification must remain readable; purely decorative details can be assessed against the agreed appearance.
Keep the entire comparison sheet. Sending only the best image can conceal inconsistency. Sending only the worst can overstate a handling mistake. The sequence provides context and often makes the next action more obvious.
5. Test the material and the handoff, not just the moment of contact
The stamp can look clear immediately after contact and still fail in the next step. A card might be stacked, an envelope slid into a tray, or a tag rubbed against packaging. The acceptance test should include the ordinary handling that follows the impression.
Use the actual stock, including its coating or finish. A sample on uncoated paper does not establish performance on a glossy label. Ink recommendations can be specific to the material and the stamp system; ask the supplier to confirm that combination rather than selecting a product only because it is described as fast drying.
Let the ink dry according to the relevant instructions, then reproduce the normal handling. If the instruction specifies additional conditions, follow them. Do not invent a universal waiting time. Temperature, surface and ink formulation can change what is appropriate.
For packaging, try the mark on the surface as it will be presented during work. A flat cut sheet and an assembled box may provide very different support. If the stamp cannot land squarely because of a fold or a seam, that may call for a placement change rather than a new printing surface.
Note which material passed and which did not. “Works on our white receiving forms; not yet approved for the coated blue cards” is much more useful than “the ink is good.” It also prevents a successful test from being generalized to a new use without review.
For a design with a large solid area, look for distracting patchiness at ordinary viewing distance. For text, look for closed spaces and missing strokes. Different designs expose different weaknesses, so judge the parts that matter to your mark rather than using a single rule about how dark every impression must be.
6. Classify a failed sample before requesting a remake
Not every disappointing impression means the stamp was manufactured incorrectly. The approved artwork may be wrong, the size may have been misunderstood, the material may be incompatible, or the sample may have a physical defect. Sorting these possibilities makes a correction faster and more fair.
The artwork matches the proof but the wording is wrong
If the finished stamp faithfully reproduces a spelling mistake in the approved proof, the next task is a design revision. Identify the corrected text, issue a new artwork revision and ask what a replacement requires. Calling the problem a manufacturing defect does not help either side resolve it.
The intended mark is correct but the physical result differs
A consistently absent stroke, an unintended extra mark or a dimension outside the agreed range may point to an issue worth supplier review. Send the approved proof, measured sample and comparison sheet together. The supplier can then assess the discrepancy rather than trying to reconstruct it from a verbal description.
The result changes with the surface or operator
If the sample performs well on one stock but poorly on another, revisit the material specification. If it varies with the operator, check the handling instructions and workspace. You may still need a different stamp system, but replacing the same design in the same system may reproduce the problem.
Consider a hypothetical sample with a broken lower border on every impression. First check whether that gap appears in the approved artwork. If it does, the result may be intentional. If it does not, keep the test conditions steady and send the repeated evidence to the supplier. The location and repetition are more informative than the word “bad.”
A second sample might print cleanly but land across a form's reference number. Its manufacturing quality can be acceptable while its size or placement is unsuitable. Separate those judgments so the revision addresses the actual failure.
7. Send a correction request someone can act on
A useful correction request identifies the unit, the artwork revision, the test conditions, the observed difference and the expected result. Attach one overview photograph and one close view when needed. Include a scale reference if size is the issue, and keep the paper flat while photographing it.
Describe one issue per sentence. For example: “The lower-right border is absent in impressions 2 through 8 on the supplied test stock. The approved proof shows a continuous border. Please review whether the sample matches revision B.” This is a sample message, not a claim about an actual order.
Do not combine a defect report with an unrelated redesign unless you clearly separate the requests. Adding a logo, changing wording and requesting a remake for a broken edge in the same message makes it difficult to establish what the replacement should match.
When a supplier proposes an adjustment, ask what changes in the final result. Increasing line weight may improve a fragile border but also reduce the empty space around lettering. Enlarging the whole mark may help detail but violate the receiving area. A correction should be reviewed against the original requirements.
Request a revised proof when the artwork changes. Check the rest of the design as well as the corrected area. An adjustment to one line can move another, and a replacement file can accidentally reintroduce older wording. Approval belongs to the complete revision.
State what remains open at the end of the message. “Please send the revised layout before production” is an instruction. “Looks better” is an observation. The distinction matters when a supplier needs to know whether to proceed.
8. Approve the batch with a reference you can keep
Once the first sample meets the agreed requirements, record the approval date, artwork revision, impression dimensions and tested stock. Keep the approved sample if practical, along with the comparison sheet. That gives you a reference when the remaining units arrive.
Agree how the larger order will be checked. A small set of individually named stamps may need every name checked, even if the construction is identical. A larger run of one design may use another agreed approach. Do not assume that testing one sample establishes the quality of every unit indefinitely.
Check replacements against the same reference. An impression that gradually becomes lighter during use is a different issue from a new unit that never matched the sample. The reference helps separate initial acceptance from maintenance.
If handling or ink behavior remains uncertain, the rubber stamp smudge troubleshooting guide can help you investigate that narrower problem. Resolve it before treating the sample as the benchmark for the batch.
Store the written approval where the person ordering replacements can find it. A supplier may retain artwork, but your own record should identify what was approved and for which use. A vague reorder instruction such as “same as last time” is vulnerable to changes in personnel, material or the design itself.
Acceptance should also record limits. If you tested only ordinary paper, say so. If a colored version remains untested, mark it pending. A bounded approval is more useful than a broad statement that later users interpret as permission for every possible surface.
9. Use this short acceptance record for the next order
The record can fit on one page. Copy these fields into your purchasing notes and fill them with the details of the actual job. Leave a field pending when it has not been checked; an empty assumption is less helpful than an explicit open item.
- Order and sample: supplier reference, unit identity and date received.
- Artwork: approved filename, revision and exact wording reference.
- Dimensions: required impression size, agreed tolerance and observed size.
- Use conditions: stamp system, specified ink, stock and support surface.
- Observation: comparison-sheet reference and recurring differences, if any.
- Handling: drying instructions followed and the ordinary next action tested.
- Decision: accepted for the stated use, correction requested, or additional test required.
- Next authorization: quantity approved and any items still pending.
A clear decision does not require a perfect-looking page. It requires enough evidence to show that the stamp does the agreed job. If the required information prints clearly, the mark fits, and the intended material and handling have been checked, record that result. If one point fails, identify it and keep the rest of the review intact.
Bring this record to the first sample review, before the deadline for the full order becomes urgent. A rubber stamp creator can help you prepare the design, and a supplier can make the tool, but the final acceptance should describe how that tool works in your actual setting.